Sunday, March 6, 2016

Dumpster Diving

In my previous post, I went into the pile of saved molding from elsewhere in the house.  I sorted through all of it to find the pieces I needed for the closet interiors.

As we have only the hallways and kitchen remaining, it's easier to see what we need to save and what we can dump.  We had a bunch of other construction debris along with other random bits of stuff collected by previous owners. They included radiators and doors, it was clear neither of which were ever installed in this house; they didn't match any that are still installed.

So we rented a 10 yard dumpster and filled it up last weekend.

At one point on Saturday as we were carrying stuff out and chucking it in the dumpster, several neighborhood folks paused to check on things or just chat.

Some called friends who came to turn our trash into their treasures, others offering advice about the few bucks we could get by recycling the cast iron from the radiators, others still about leaving things out of the dumpster so the metal recyclers could get to it.

Here are my thoughts:

  1. If it's in the dumpster and you want it, be my guest.
  2. The going rate for scrap iron is $100 per long ton.  So if you want to haul 600 pounds of radiators to the scrap yard so you can get $25 bucks, you know where to find it.
  3. I'm only touching this stuff once. I'm hauling it out of the basement and throwing it in the dumpster, not putting it on the boulevard to see if someone takes it and then later putting it in the dumpster.  See #1.
By the time we called the company to pickup the dumpster a couple days later, some of the stuff had been turned into treasures...

Saturday, February 6, 2016

Scavenger Hunt

As I'm prepping to paint the other side of the master bath french doors, I noticed that I needed to touch up some around the door latches as well.

And then I discovered that the casing was never installed on the inside of the linen closet in SWMBO's dressing room.

And, of course, that reminded me that I never put the casing back on the inside of my closet either.

Cleaning the brush from oil based paint is a pain. I might as well install all the molding so I have to clean the brush only once.

This is my pile of salvaged molding, so the right pieces ought to be in here somewhere...

Wish me luck; I'm going in...


Saturday, January 23, 2016

The People Under The Stairs

I'm not sure why the basement door has so many locks.

More is always better, I guess.

Back in the day, the kitchen was in the basement. One would think that if you hired kitchen help you wouldn't have to lock them in the basement...

Perhaps it's The People Under The Stairs?

We're missing a few thumbturns on some other doors in the house (see the bottom lock and the middle lock in the photo).  The other "privacy" doors ( bathrooms, etc) have the bolt mechanism, but are missing the thumbturn to operate it.  I might need to re-purpose these if I can't find some on my next treasure hunt...

Monday, January 18, 2016

Nightstand

The nightstand on my side the the bed has always been "off".  In a previous post you see what it looked like.

It was too small for the scale of the room, both in height and width.

We've been looking forever, but could never find anything better than this piece.  Finally we decided the time was right and visited the store on Black Friday.  As luck would have it, this line was on sale and it is being discontinued.  We placed the order, intending for it to be my Christmas present, and waited patiently.

It finally arrived and I picked it up last weekend.

It was a good opportunity to toss a bunch of old junk as I transferred all the contents over to the new nightstand.

Sunday, December 27, 2015

The Master Bath Doors

In the beginning...

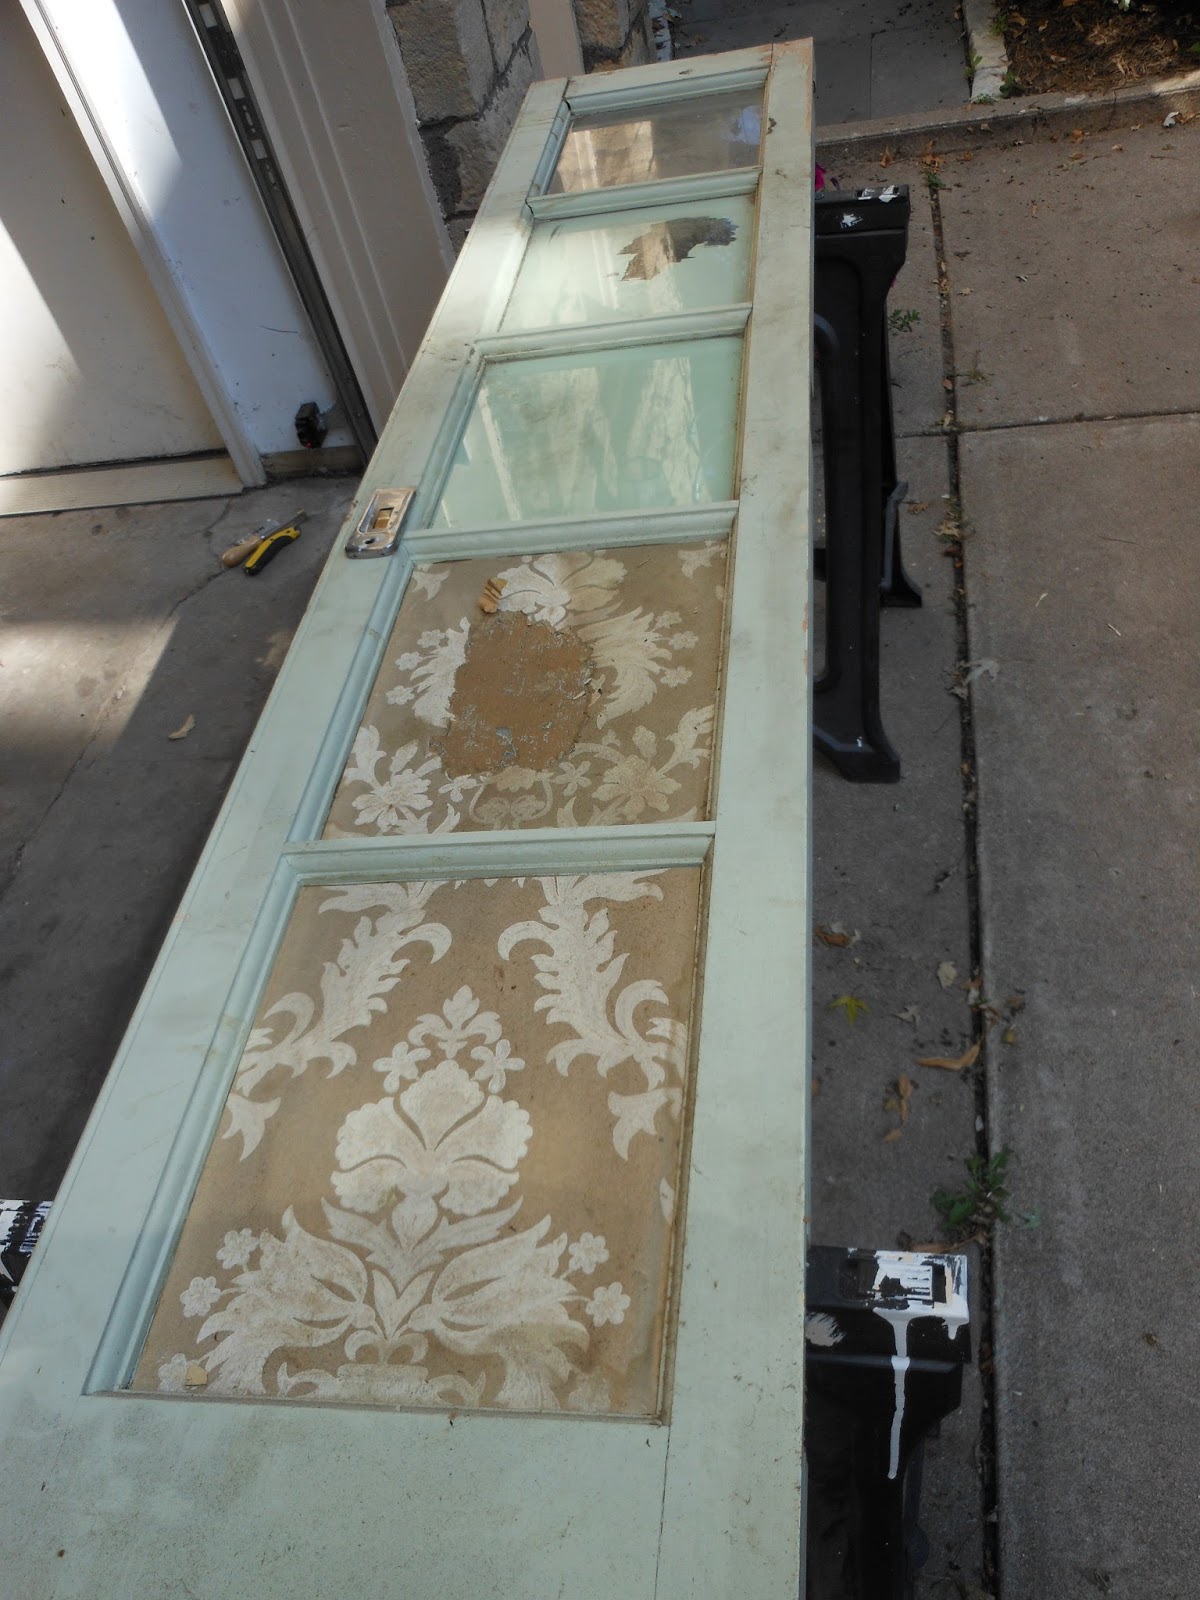
When we were planning the attic and master bath work, we intended to re-use as many original doors as possible. At the time, the doors in the attic were different than the doors in the rest of the house.  That's not a surprise because the attic was meant as servant quarters and the attic doors were of lower quality

All of the new doors in the attic were re-purposed from elsewhere in the house.  Some we found in the basement or attic; others I had removed during previous work; still more came from the demolition of the butler's bedroom (what is now the master bath).

As part of the treasure hunt, we found a pair of French doors in a pile of stuff in the attic and decided to use them as the doors between SWMBO's dressing room and the master bath.

They were covered in filth, had wallpaper glued to the glass, and the rail & stile joints were coming apart.

So in the summer of 2013, I set up on the driveway and got to work.

After I fixed, scraped, and cleaned everything, they sat for a long time.

Finishing the attic was higher on the priority list.

At least they didn't sit in a pile of stuff.

They moved around a bit to stay out of everyone's way during other projects, spent a little time acclimating to the new space, and eventually got hung, temporarily, in their new permanent home.

As we got closer to completing the master bath, it became time to focus some more love and attention on the doors.

They were removed to make it easier to get the cabinets and tub into the room.

And then down to my work shop to get a fresh coat of Impervo.

And frost the glass.

Unlike previously, this film allows light through because it's not completely opaque.  In addition, it doesn't require adhesive, so it will be easier to remove. It's applied with water and adheres via static cling, so when the time comes it just peels off.

Next caretaker - you're welcome.

While the doors were off I did the dowel and glue treatment to the screw holes for the hinges on both the door and the door frame.

And finally, yesterday, I re-hung the doors.

The crystal knobs are smaller versions of the door knobs in the rest of the house, but are new from House of Antique Hardware.

Sunday, December 20, 2015

More Hardware

We've been slowly finding various other things for the master bath.  You'll start to see them scattered about in future photos.

Packages have also started to arrive with various bits of hardware that were missing.  Some bits have already been installed; others will get their own updates here soon; still others have yet to be shipped from the vendor...

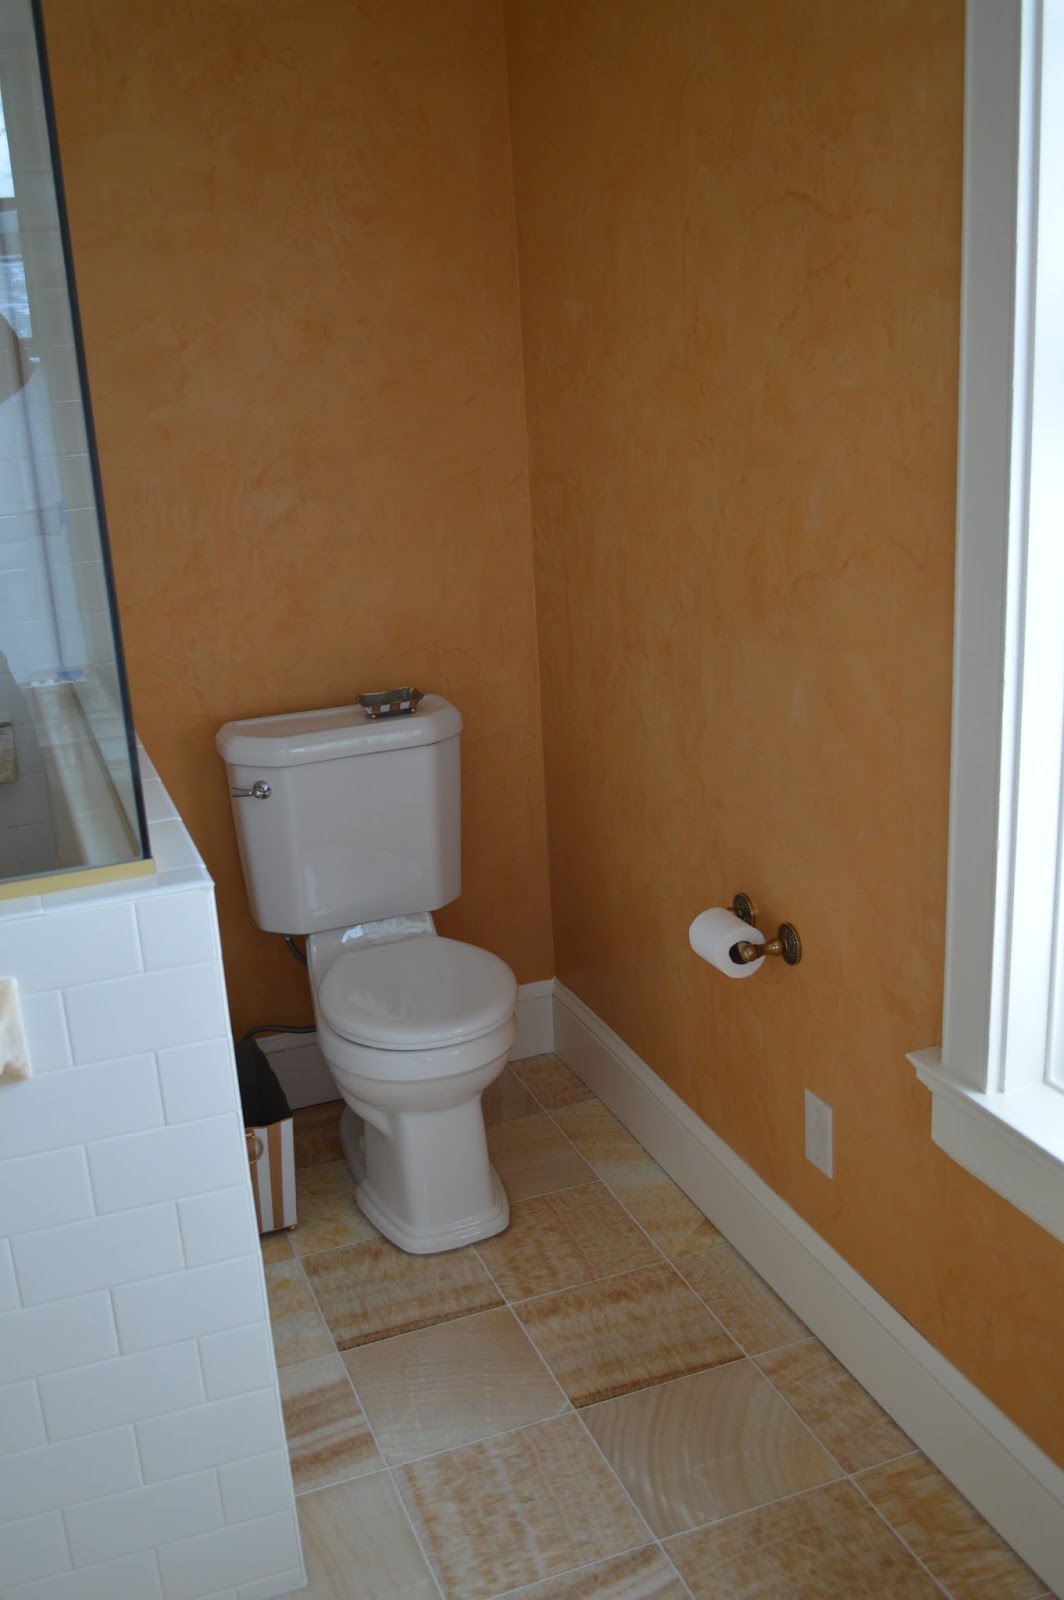
The towel ring and toilet paper holder that match the plumbing fixtures in the master bath were a little more expensive than I had in mind.  We managed to find these at a more reasonable price.

They don't "match"; rather, they "coordinate".  That's a principle we've lived by throughout this journey.  There are places in the house that need a more simple colonial-revival feel, where others can stand to be a little more ornate.

The master bath is one of the places that can stand up to the extra detail.

Tuesday, December 15, 2015

The Tipping Point

This time last year we had a minor tragedy.

The Christmas tree fell over several times.

And the top made a decent scrape on the wall.

Which I still have to repaint.

When we buy the tree, we just walk onto the lot at Frattalone's hardware on Grand Avenue and buy the tallest one they have. Takes us all of 5 minutes to pick out the tree.

We have 10-foot ceilings on the first floor and because we put it in the opening in the staircase anyway we're not really constrained by height.  It also doesn't matter if it has a flat spot because we stick it in this corner and can orient it to hide any asymmetry.

That's probably why we had the tragedy last year.  The tree was too tall and unstable for the stand we had.

So we got the Hummer of tree stands for this year.  Note that in the photo this thing is on a 6-foot diameter rug.  It also weighs as much as a decent sized Sumo wrestler.

That should keep us from reaching the tipping point this year...

Saturday, November 21, 2015

Plumbing

The plumbing became quite the saga over the past couple of weeks.

A while back the plumber came and installed the toilet, shower heads, and lavatory faucets.  He was missing parts for the tub and hot water recirculator, so needed to come back later.

As part of checking things out during the install, a bunch of crud came out of each fixture.  He took it to get tested and it tuned out to be lime scale.  After investigating to determine the source, it turns out that the water heater was way past its useful life and a third full of mineral deposits.  I guess I shouldn't be surprised, it's one of the few remaining appliances that we hadn't yet replaced.  So he ordered a new one to be installed when they came back later to finish the tub.

A few days later I happened to be down in the basement gathering stuff for another project and noticed a decent sized puddle in the corner where the drain lines for the sinks were.  I checked the pipes themselves for the source of the leak with no joy.  But I notices they tapped into the drain for the old kitchen sink in the basement.  Now, that drain probably hasn't had a sink connected to it since before the 1980s.  There's no telling whether it works or not.

Turns out not.

When they came back, they tried to snake it with no success.  So they re-routed the pipe in the basement over to where it could catch the stack for the toilet.  Problem solved.

They also finished installing the tub, the water heater, and the hot water recirculator.

Texting SWMBO at 7pm the night before to see if the electrician (me) had installed the outlet for the pump caused a bit of panic.  I had to do some quick planning and run to the store to get parts that night.  I got it only half installed, so ran an extension cord until I could finish it up the next night.

The bathroom is now totally functional and in use.  And it's nice to have instant hot water.

We don't have window treatments, yet which explains the builder paper on the bottom sash of each window and the fabric samples taped to the casing.  I don't need the neighbors getting too excited every time I'm in here...

This morning I finished installing the crown molding at the top of the corner cabinet.  It took longer than expected because during the installation I mis-measured and cut the pillars too short.  As a result I had to fabricate a filler piece for each side and shave it down to the correct thickness.

Now that we've seen the sashes in different types of light, I know I have to do a second coat on each one.  Hence the tape still on each pane of glass.  I have to re-install the bathroom doors and they have to be painted too, so I'll do the rest of the painting in one shot.

Sunday, November 8, 2015

Mirrors

Back when we found the new sconces for the kids' bath we also found the mirrors for the master bath.  They've been patiently waiting to be installed. Yesterday I was finally able to install them.

We decided to go with matching mirrors over each of the sinks and a different one over SWMBO's makeup area.

The ones on either side had the hangers mounted symmetrically, so installing them was a breeze.  The center one, however, was a pain.  It doesn't have any straight edges and the hangers weren't mounted symmetrically on the back of the frame.  It took some mucking about to find the center-line and measure off of it to get everything plumb.  And similarly with the tom-line to get it level and set at the appropriate height.

As you can see, the plumber was here earlier in the week installing the plumbing fixtures.  Faucets, shower heads, and toilet is done.  The tub isn't quite done yet (see its reflection in the rightmost mirror) and a drain pipe is leaking in the basement, so there's still a bit of work to do...

And I'm slowly checking off items on my punch list, so it won't be long now...

Knobs

Over time, the knobs on the doors of the vanity in the kids' bath have slowly been breaking.  They are made from cheap pot metal and if anything hits them at an odd angle, they break off.  This photo is from the construction phase in the kids' bath; you can see that the molding under the wainscot cap isn't completely painted yet.

I'd briefly thought about trying to repair the knobs, but quickly realized it wasn't worth it.  There really isn't a good way to do it that will withstand normal wear and tear.

So we looked around at a few stores and found some different ones as replacements.  They have a similar color tone and detail.  The decorative escutcheon couldn't be re-used, so I'll have the fill the nail holes.  We'll also have to hit the cabinet with a little furniture polish or something to minimize the "ghost" lines from the perimeter of the escutcheons; they are mostly just from the collection of dust.

And while we were looking for replacement knobs, we were also looking for knobs for the master bath.

We needed 19 of them.

The ones on the cabinet doors went in fairly quickly; it took me perhaps a total of 10 minutes to install the ones on the 5 cabinet doors.

The ones on the drawers were a different story...

It took about two hours to install those.  The drawer face is not an integral part of the drawer box, so each face came off. Then I could locate the position of the knob, drill the hole, install the knob, and re-install the drawer face.  The face is adjustable so that you can align them properly, which had to be done anyway, so it wasn't that big of a deal.