Friday, September 4, 2020

The Back Door - 1

This is the first in what I know will be several posts about the back door.  It has a number of issues that need to be corrected.

  • The exterior has needed new finish for longer than we've been in the house.
  • The weatherstripping doesn't seal properly - you can see daylight between the door and the jamb.
  • The gap between the door and jamb is inconsistent. The bottom half is fine, but the top half is more than a quarter-inch.
  • The doorknob latch doesn't.
  • The rimlock night latch is sketchy. The latch keeper looks like it would fall off at the slightest touch.
  • Several of our keys stopped working reliably, which means the cylinder is worn  and is about to give it up.

So the time has come. Night latches aren't that secure, so I found a deadbolt to replace it. It arrived just before the kids went off to college. That meant my threat to change the locks wasn't really a joke...

As you can see in this photo of me removing the old bits, there are failed attempts to bridge the gap between the door and jamb. The spring bronze should work, but the adhesive-backed foam in the background is applied to the jamb as a backup.

In several places the spring bronze had cracked along the crease between the nailing flange and the leaf. It's hard to know for sure, but maybe that the reason for the (ineffectual) foam strip.


In more than a couple of places there were random nails through the spring bronze (needle nose pliers points to one example). These were usually long brads rather than the (appropriate) copper nails. If there is a reason or rhyme to this, it escapes me. I don't see why you'd want to prevent the leaf from pushing against the door; that's the whole point of weatherstripping.


Once I got the old weatherstripping bits off, I fashioned a filler strip to even out the gap, much like I did on the second floor door eons ago.

It is tapered to get the gap between the door and jamb to a consistent 1/8-inch from top to bottom. I had to use some spare copper nails to keep it from curling on the thin end while the glue dried.

I also used some Abatron WoodEpox to fill the old holes in the jamb. The old hole for the doorknob's latch plate was a mess and the plate was installed improperly so that it didn't line up with the bolt. That's mostly fixed now and the strike plate and bolt line up so that they function properly; it actually latches now. To get it to look nice will require a bit more filler.

I then morticed out the new deadbolt strike. (But kept the old rimlock keeper in place while all this was happening. I needed to make sure I could still lock the door at night until the new deadbolt was in place... I'll have to fill in the casing later...)


Then I could install the new deadbolt. It required enlarging the hole through the door and drilling a hole through the edge of the door for the bolt (rimlocks are surface mounted). The thumbturn on the back of the door still isn't installed because ... this door is 2 1/4-inches thick. Despite what the manufacturer's specs say, the standard tailpiece only works with doors up to 1 3/4-inches thick. They're sending a new cylinder with the extended tailpiece. And there is other stuff I can do while I'm waiting.

For example, you can also see that I started sanding the door in preparation for its new coat of finish. 

Saturday, August 15, 2020

The Fountain

Ever since we moved in we'd talked about putting a fountain in the "grotto" in the wall at the back of the property.

A couple of years after we moved in and had been doing a lot of work, we were at a party and met a local architect who is regarded as an expert on Cass Gilbert houses. He mentioned that he liked our renovation work and that he previously had lived in the house immediately behind ours (see the red garage in the first photo).  He said that there indeed had been a fountain in the grotto years ago. He had rented out the second floor of his house to some college students and when they eventually moved out, they left behind what he believed was the original fountainhead from our fountain. He had it at his second home an hour or so away and would be willing to return it to us. Though we've worked with him on Cass Gilbert Society functions several times since, we never got it from him.  I'm not certain he recalls the offer due to various other circumstances, so we had to make alternate plans.

The grotto had a bunch of dirt and decomposed material in it. In addition, SWMBO had been dumping our old potting soil in there. So the first step was to dig all that out. I discovered that at the bottom there was an old layer of concrete. It was cracked in several places and was uneven. In addition, the stones surrounding the basin had shifted over time and had large gaps between them, so there was no way to make it water tight.


Another solution needed to be found. Much internet searching and measuring followed before I found the solution; a pond-less water basin.

But on the bright side, the grotto contained a cool block of stone with a fountain carved into its face (see previous photo)...

The first step was to move that block of stone. Little Man (who is now a collegiate offensive lineman and is bigger than me) and I "rolled" it out and onto the ground to the left of the grotto. We later determined that it probably weighs 325+ pounds given that limestone weighs about 150 pounds per cubic foot.

Then I leveled the bottom with a layer of "paver base". Basically paver base is sharp sand and small aggregate that compacts well to provide a solid and level base.


It didn't take long for the basin to arrive. Due to its size it comes on its own pallet and is shipped by truck rather than by USPS, Fedex, etc. For reference, this basin is 36 inches in diameter, 16 inches high, weighs about 40 pounds, and holds about 60 gallons of water. There are several internal pillars and a central column that support the grate and up to 750 pounds of static load (whatever you use as the fountainhead). The pump can be accessed through the pump cover (the white plate on the left side of the grate).


Once it was level, I filled it halfway with water so that it wouldn't shift while I put topsoil around the exterior of the basin.


Our mason, Dave, stopped by Thursday to drill the hole in the stone block. It is a 1-inch hole that goes straight down through the block, centered about a third of the way back from the front edge. That evening, Little Man and I moved the block into place (did I say it weighs over 325 pounds?) and ran 1-inch vinyl tubing from the pump and up the full length of the hole. I had to make some adjustments to get the proper flow rate and to get the tubing to route properly without kinking. A 90-degree elbow connected to the pump outlet, a valve to control the flow, and barbed fitting for the tubing were all that was needed.  I also needed to cut a little of the lip of the grate away to be able to get the pump cord in and out easily. Because it will get damaged if it is allowed to freeze, the pump needs to be removed for the winter.


SWMBO gave me "permission" to select the stone that covers the grate. We'd had some discussion about going to a local landscape center, but I wasn't convinced we could find something with stones in the Goldilocks zone: not too big, but not so small they fell through the grate. I didn't think that river rock would look right. We had a couple of extra limestone blocks laying about, so I grabbed great-grandpa Joe's stone mason tools and went to work breaking stone into the proper sized pieces. It took me a good part of the afternoon...


Saturday I added a bit more soil and transplanted some perennials to soften the edges and camouflage the pump cord, etc. In the back are variegated hosta. Along the sides are Japanese painted fern. We plan to put annuals with a pop of color along the curve in front.


Lastly, the fountain in action:


The Front Porch - 3

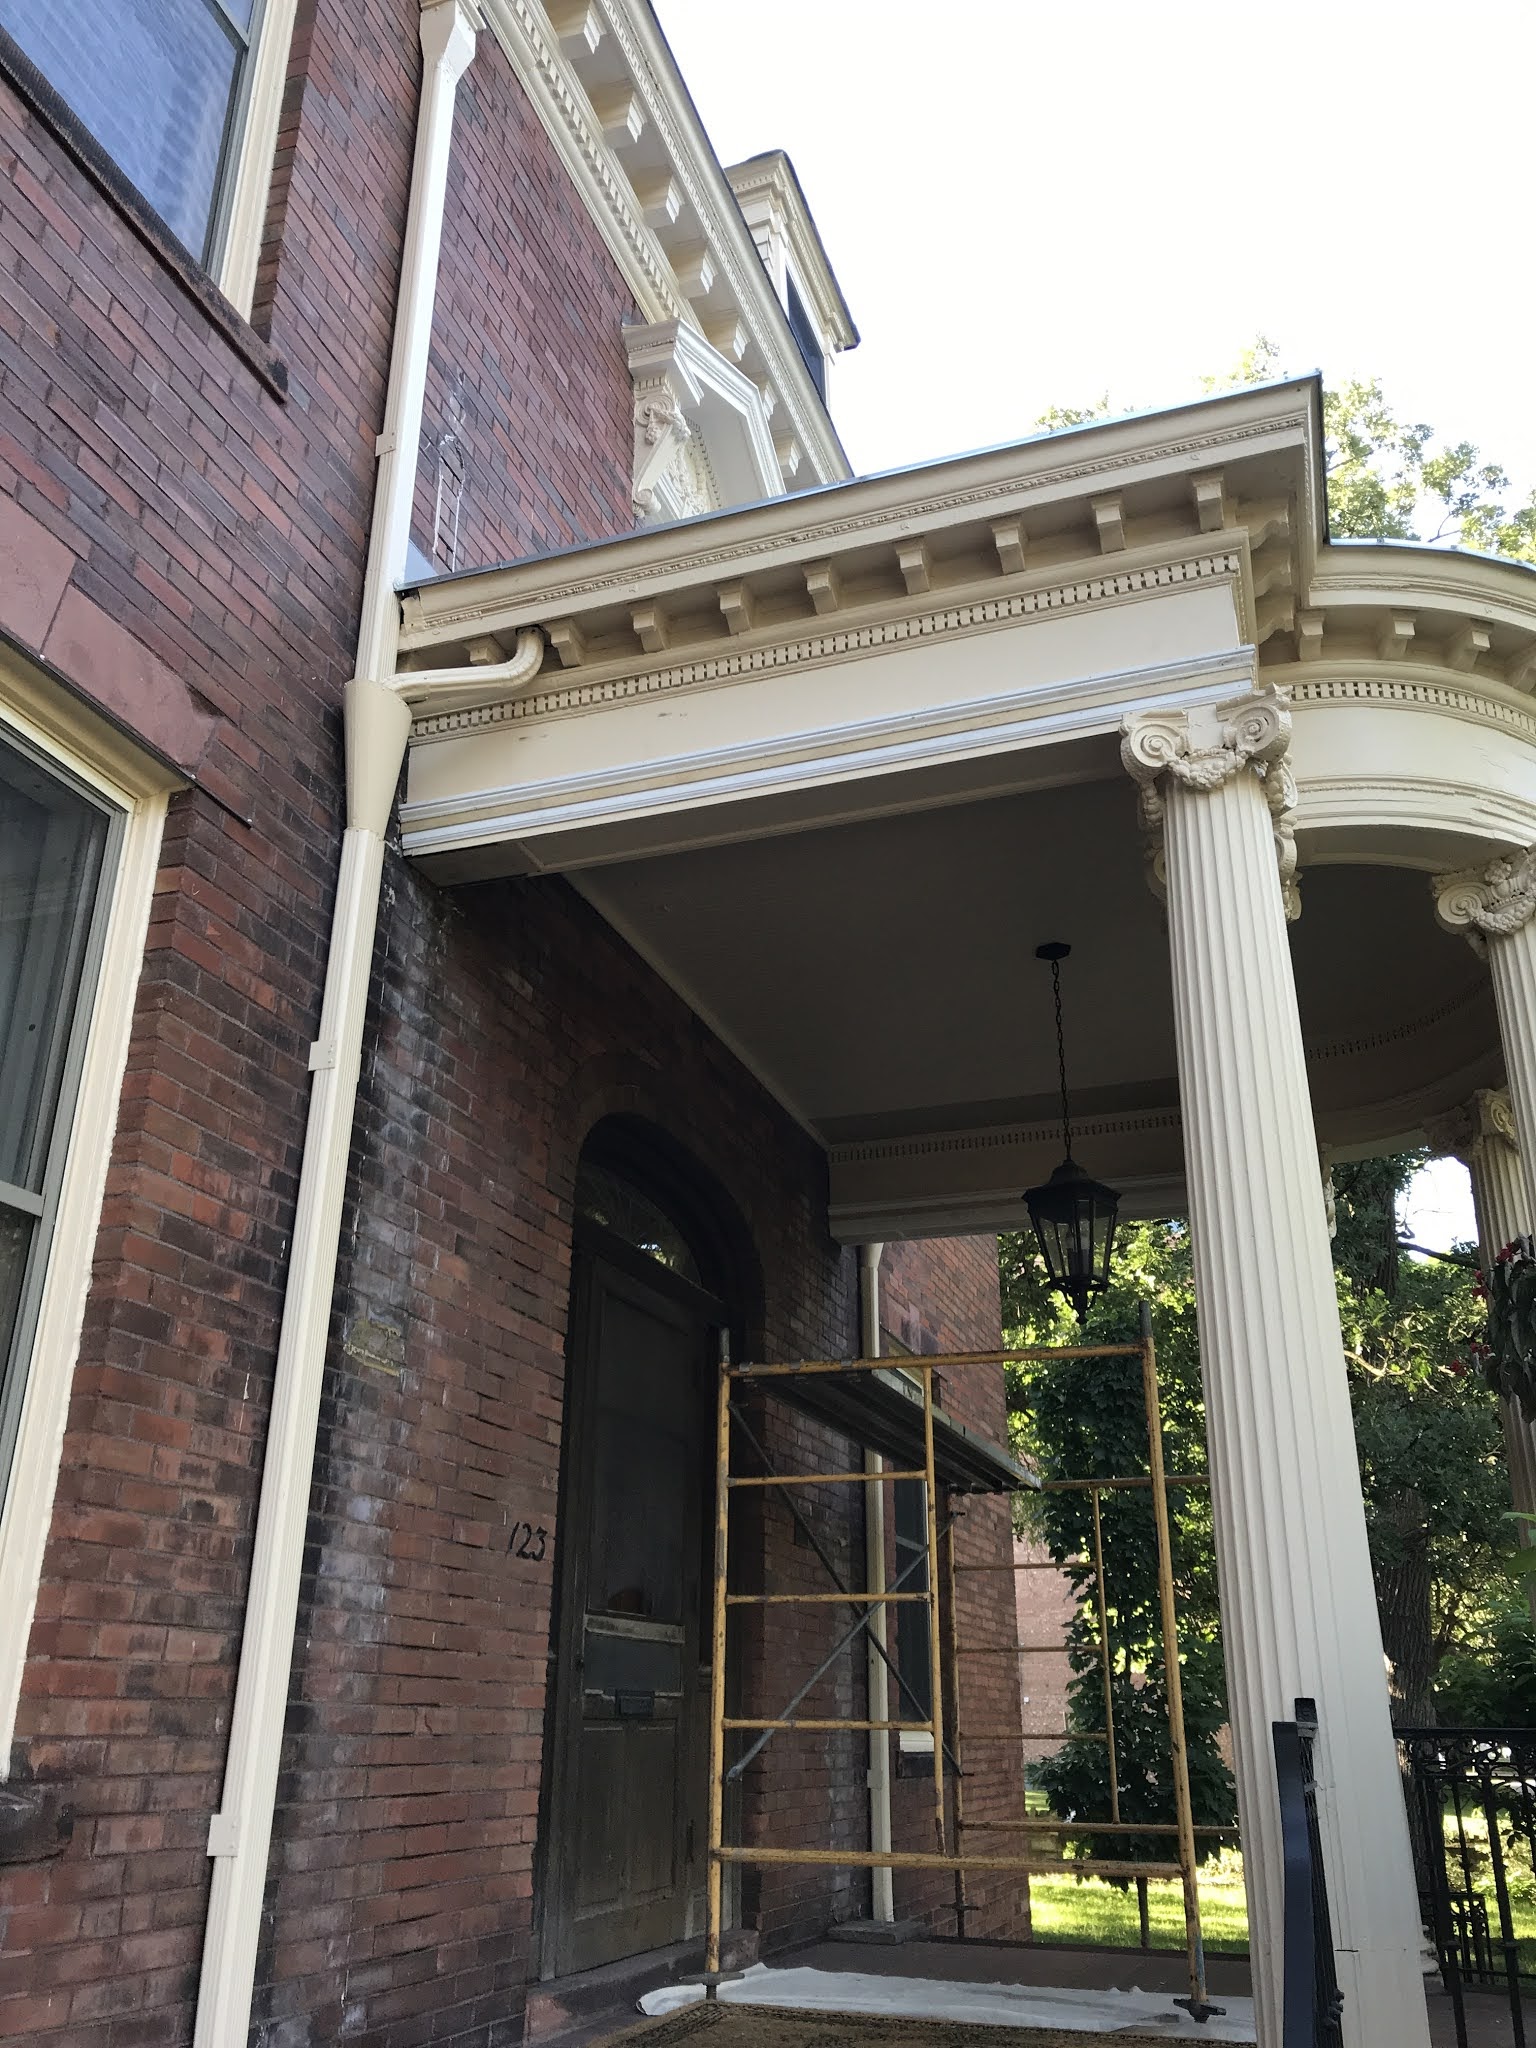
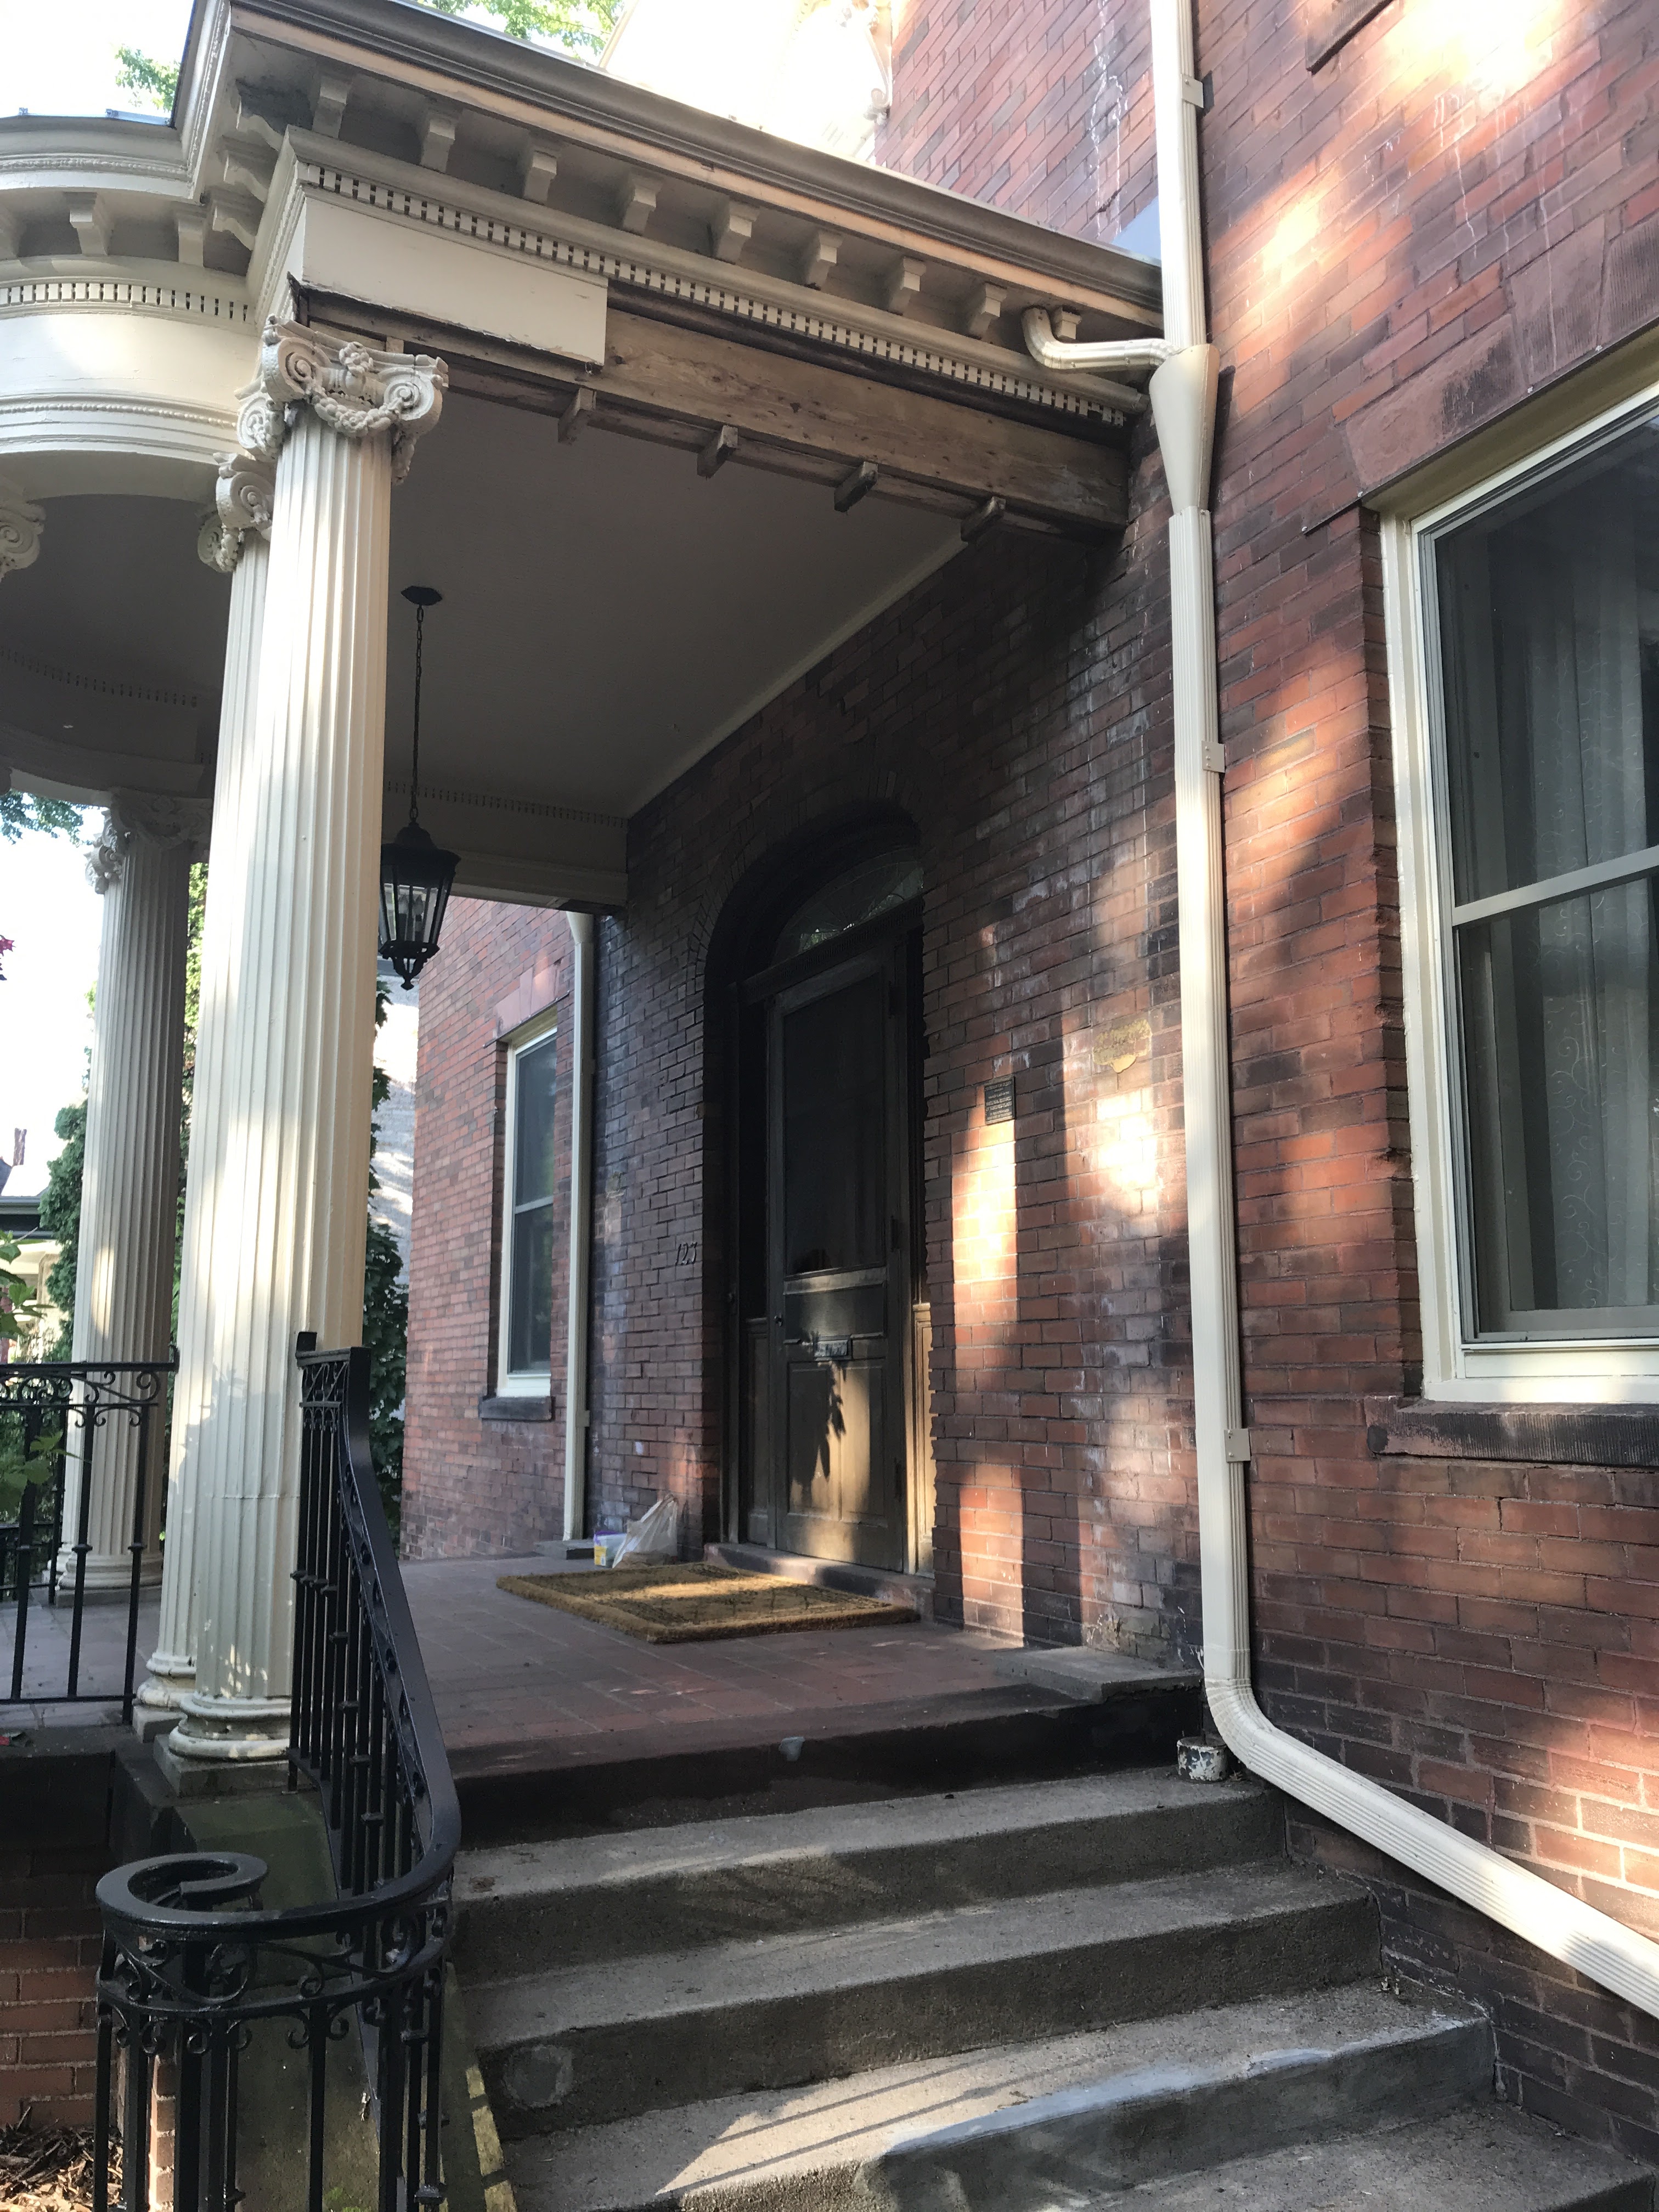
 After some unfortunate delays with our contractor (abdominal surgeries, bee stings, car accidents, and a need to re-make the half-columns after the first set wasn't done properly), the front is finally done.

All the previous repairs have been painted.

Some of the round columns needed repairs to their bases. All have been repaired with new wood, joints caulked, and repainted.

The new half-columns against the house have been assembled, installed, and painted.

We'll have to work on removing the "ghost marks" from the previous columns.


Tuesday, July 14, 2020

Plaster Repair - 2

After several coats of joint compound over the course of the week, I was finally happy with the results. And re-painted the room over the weekend.

We'd previously determined that while the existing color ("Wheeling Neutral") was OK, it wasn't great. The underlying tones were a little off compared to the carpet and window treatments. It was a little more grey/green than it should be.

We used our handy-dandy Benjamin Moore color wheel and selected "Desert Tan". It has a bit more red in its undertone which looks much better with the carpet and window treatments.

A month or so ago I purchased a quart and made a sample board so we could validate that it was the correct color. And experimented with some other things that will be revealed after I have a chance to implement them...

Sunday, July 5, 2020

Plaster Repair


Over time the crack in the plaster just behind SWMBO's bed-side table has been getting bigger. Depending on circumstances, I've used various techniques to repair the damage or holes. With the tuckpointing coming on the south elevation, we've had the structural engineer out for a consult on other things. He looked at this and didn't think tearing it off was necessary.

This means that a true repair is still a possibility. 

I've been a member of an evolving list of old house sites on the internet and through them became aware of a product I'm going to try for this repair: Big Wally's Plaster Magic. (Note - no affiliation and no sponsorship...)

In this instance the plaster has cracked and come loose from the underlying lath, especially on the right side of the crack.

And off we go, following the instructions.

I drilled holes through the plaster with a 3/16 masonry bit, making sure to hit the lath. The crack had separated enough that locating the lath wasn't that difficult.

I then vacuumed out all the holes and the crack and squirted the conditioner in every hole.

After waiting the suggested 10 minutes, I used a caulk gun to squirt the adhesive into each hole as directed. The adhesive was runnier than I expected, but no harm resulted. There was just a little more cleanup with a damp rag and bucket of water.

Lastly I used the included screws and washers to clamp down the loose plaster and try to get the right side more-or-less at the same level as the left. And wait for the adhesive to dry/cure.

I waited about 36 hours and then began removing the screws and washers. Everything seemed well-adhered, so it was time to mud and tape.  I'm using fiberglass mesh, rather than paper tape, which should give us better long-term results. I've applied it to some other minor cracks as well.

Now I wait for the first coat to dry. I'm sure it will take two or three coats to get it feathered out so that I'm happy.

The Front Porch Continues - 2


Some of the re-installation has begun. You can tell which bits are new because they are primed, but not painted the final color yet.

The half-columns that go against the column are waiting, as are the repairs to a couple of the round column bases.

Tuesday, June 9, 2020

The Landscaping Never Ends

Just like house projects, yard projects are never done. Eventually plants need replacement. This year is no different.

One of our climbing roses near the back porch died last year and I found a replacement: Ramblin’ Red Climbing Rose.

We also had a couple of yews die this winter. They were replaced with new ones to keep the look consistent along the north side of the house: Taunton Spreading Yew.


This corner has seen a lot of turnover throughout the years including various upright arborvitae and a few different magnolia. We're going to try something new: Winecraft black smokebush. If it survives, it should fill out to provide a nice anchor both in height & width for this corner. There are utility lines above, so we are height-limited. The color contrast with the things around it will also be striking.

A few of these got mowed down by the rabbits, so new replacements have been called up: Burning Bush - Compacta.

And finally the previous ninebark (Diabolo, IIRC) didn't make it through the winter this year. Which is strange because they've been doing well for quite a few years. I think they were just old and tired. We switched varieties to something a little smaller, which means we shouldn't have to do as much hedge shearing: Little Devil Ninebark. Like previously, they are arranged in a curve that matches the front porch. As they mature, they should be about the height where the brick transitions to stone.

Thursday, June 4, 2020

The Front Porch Continues

Last autumn the roof was replaced on the front porch.

Work on the rest of the porch began earlier in the week.

Partially that included removing the old rotted square half columns that were against the house. In this photo you can see the shadow line where the column used to be just to the right of the downspout. On this side the base of the column was rotted.

On the north side, in addition to the column, parts of the beam fascia and various moldings had rotted and were removed.

Lastly, some of the bead board ceiling on the north end were also in bad shape and were removed.

The replacement materials are being sourced and installation will follow.

The old columns weren't accurate replacements for the originals. We're going to try to get a little closer than what was done previously...

Sunday, May 31, 2020

Back to the Beginning - part 3

Fabric stores have been open for a while, so we finally decided to begin looking for fabric for the cornices/valances.

It didn't take us too long to find something we were all happy with. It is a sueded faux leather in a color that coordinates with several of the colors in the bedding.

Last weekend I removed the old fabric from one of them and installed the new fabric.

Friday night during the demonstrations, riots, and looting, I did the other one.

Saturday morning I installed both.


Monday, April 13, 2020

Back to the Beginning - 2

Just like the previous bedroom that was transformed, it's time for another transformation. This time it is happening to what was Little Big Man's room. He's long since moved to the attic bedroom.

This has become a guest bedroom and it needs a bit of a refresh. In addition, the east window casing needed some love. Someday the radiator will get a little love, too.

I scraped, sanded, primed, and repainted the necessary parts of the window casing. Fortunately I still had some of the leftover matching paint.

The color scheme changed somewhat. The woodwork is still Ivory Tusk, but the walls are somewhat different. Below the chair rail remains "Eucalyptus Leaf" and above is now "Soft Fern".

Because of the color change, the old roman shades were removed and replaced with wood blinds that match the millwork. The valances have also been removed and will be re-upholstered with a coordinating fabric once we can get out into the world and find some.

New bedside tables were acquired, along with a new rug and an upright dresser.