Tuesday, September 22, 2015

Yet More Sconces

Back when we did the kid's bath we needed some sconces.  We found four at a local salvage place (Art and Architecture), but we had to take all four even though we needed only three.

That was a stroke of luck as it turns out.

Because we need four in the master bath.

We looked around at various salvage and antique places in town to no avail.    We ended up finding these new ones at Creative Lighting.  Reasonably priced and coordinate well with everything else in the room.

It took a while for them to come in, but they finally arrived a week ago.  Just in time for me to install them prior to a party.

No surprise there...

They are a little less ornate as well, but that's good for this bathroom.  The extra detail in the previous ones will go perfectly in the master bathroom.

Pics of the previous ones in their new location coming soon!

Monday, August 24, 2015

The Dining Room Ceiling

For a long time we've been thinking of doing something interesting in the dining room.  All the paneling on the walls is very cool, but it's all Ivory Tusk, so the only splashes of color and interest are the window treatments and knick-knacks.

One idea I threw out was to cover the ceiling in gold leaf.  I'm not sure exactly where I've seen it before, but I thought it would be interesting and reflect a lot of light throughout the room while still giving it a warm glow.

The artist that did the entry ceiling came back last week and did the dining room as well.

It is a mixture of silver and gold which is really interesting and is much "softer" than a monochrome gold would be.

The room is less stark and now has a much warmer feel to it.  It also feels much cozier, even for a big room.

I had to touch up some of the crown where her tape pulled the paint off, so it's a good thing I saved the old cans.  The paint was all dried up but I was able to get back to the correct store and get them to match the paint exactly.

Tuesday, August 18, 2015

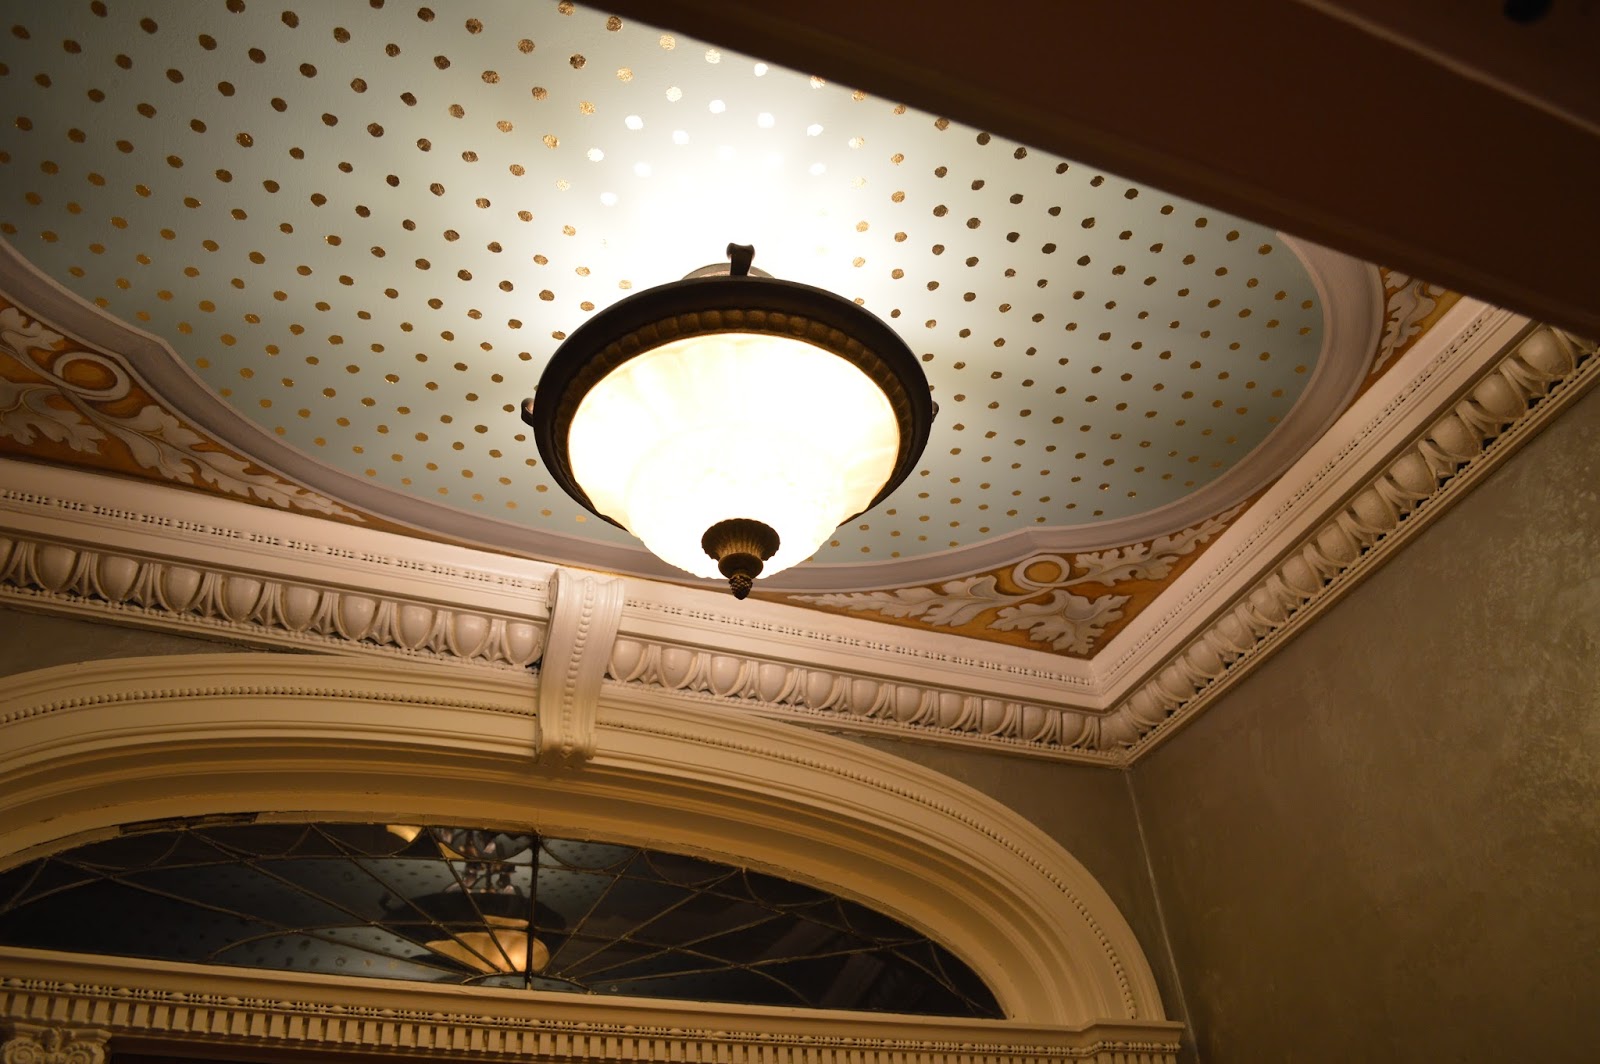
The Front Entry

There were several projects underway in the run up to the tour.

One that I was not responsible for was the front entry's ceiling.  The heavy lifting was done by an artist.

All I had to do was remove and re-install the light fixture several times.

The first time I forgot that this light is on a 3-way switch.  That meant I shocked myself several times before I figured out why the wires were still hot.

I'm apparently a slow learner.

The Cass Gilbert Experience - Postscript

Saturday's tour went well.  There were about 25 people on the tour.  We received a lot of very nice compliments and feedback.  The group had quite a few questions.  Fortunately no one was able to "stump the band".

One popular question was who our florist was and where the flowers came from.

The answer is SWMBO and the Saint Paul Farmers Market...

Wednesday, August 12, 2015

Master Bath - Part 11

It's been a busy few weeks so I apologize for not posting.

We installed this chandelier over the weekend.

Yes, there's a chandelier in the master bathroom.

I need say nothing more than...

SWMBO.

Eventually the claw foot tub will be located directly underneath.  Of course, I used a dimmer switch so she can dim the lights and soak.

The chandelier was a "inherited" from her aunt and uncle.  It used to be in their dining room.  After they both passed, none of the cousins had a use for or wanted it, so they gave it to us.  Once we figured out the plan for the "master suite", we knew right where it would end up.

And it looks fabulous even if I say so myself.

The Cass Gilbert Experience

A reminder that a handful of spots are still available for The Cass Gilbert Experience tour this Saturday August 15.  Proceeds go to the MN Historical Society.

In addition to our house, the tour also includes the Pioneer Endicott building.  A very interesting structure designed by Cass Gilbert and home to his Saint Paul office for a period.

Saturday, July 25, 2015

Master Bath - Part 10

After the screed cured for the weekend, Nate installed the uncoupling membrane.  It isolates the tile from the underlying floor, letting them move independently and minimizing cracks.

It's installed using thinset and once it dries, another coat of thinset can go on top.

And after that dries, then the tile can be installed.


And grouted.

A little bit of touch up here and there, plus the soap dish, and it's all done.

Wednesday, July 22, 2015

The Looming Deadline

In an earlier post I mentioned a looming deadline; it is The Cass Gilbert Experience.

Well, we're not going to be done in time.

Nate is doing a great job progressing on the tile.

But some of the other stuff won't be done.  We've ordered the cabinets and plumbing fixtures, but they won't arrive until after the event.

And we had a little surprise this morning.  A local TV station came to film the house for a piece on the event.  If you want to see it, watch TPT's Almanac on Friday July 24 at 7pm.

Saturday, July 18, 2015

Master Bath - Part 9

Earlier in the week I pressure tested the radiant tubing. Fortunately there were no leaks.  The biggest worry are the tubing joints and the danger of puncture when you're fastening the tubing.  This system doesn't require stapling the tubing, so that risk is a non-issue.

I couldn't get a true pre-assembled manifold to fit in the available space, so I had to build my own (seen in the first picture). I have only two loops, so the manifold is only a "tee", thus limiting the number of joints.  I reality, I don't have more joints than I'd have had with a manifold.

Nate installed the screed on Friday.  Many buckets of mortar screed got carried up the stairs.

Reports are that he liked it a lot.  According to the manufacturer the foam panels result in a 15-20% weight savings in mortar.

Now it cures for the weekend and floor tile can be installed next week.

Monday, July 13, 2015

Master Bath - Part 8

Nate finished tiling the interior of the shower on Friday.  So I got the weekend to install the hydronic in-floor heat.

I didn't quite make it.

I'd previously forgotten to install the thermostat for this zone.  That meant drilling some more holes and fishing the control wire down to the basement.

Then I could start on the underlayment for the screed.  It's the Bekotec system from a company called Schluter.  These 2x4 interlocking foam panels are cut to fit and laid out on the floor.

Once they were all in place, I installed the hydronic tubing.  The "studs" on the panels hold the tubing in place for the most part.  The only place it didn't really work perfectly is where I made 180-degree turns.  The tubing has a tendency to lift the edge of the foam panel a little or not lay perfectly flat.

The tubing manufacturer (Nibco) has a design service that I took advantage of to get a material list.  They recommended routing the tubing on 8-inch centers.  The studs on the foam panels ended up pushing it out to 9-inch, which is close enough.

The black wire is the floor sensor for the thermostat.  It shuts the system down if the floor gets too hot.

You can also see that I've run two loops of tubing to ensure that the heat is even across the whole room.

Also, I didn't run tubing close to the right-hand wall in the second photo because the cabinetry will be directly above; there's no sense in heating the floor under the cabinets.

I was only able to get the first loop done over the weekend; the second loop I finished tonight.

Now I'm ready for Nate to comeback and do the screed.  That will probably be later in the week after he finishes another job.